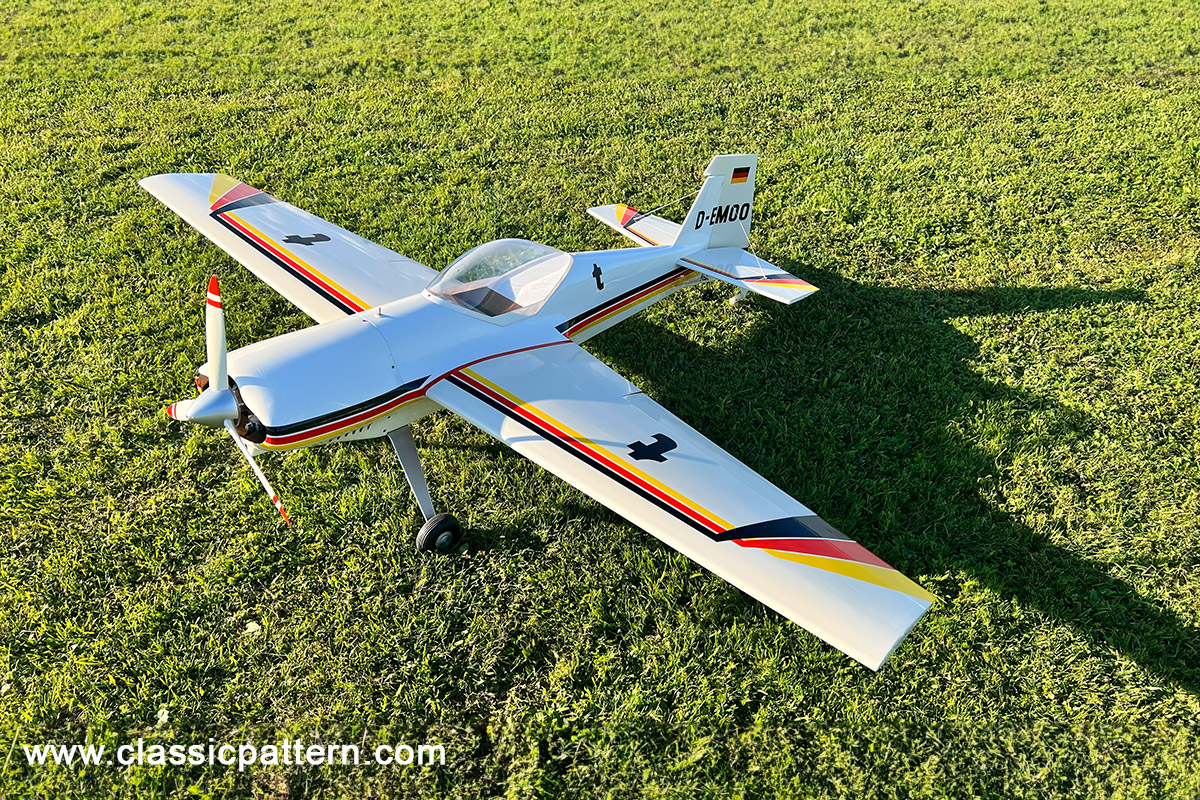
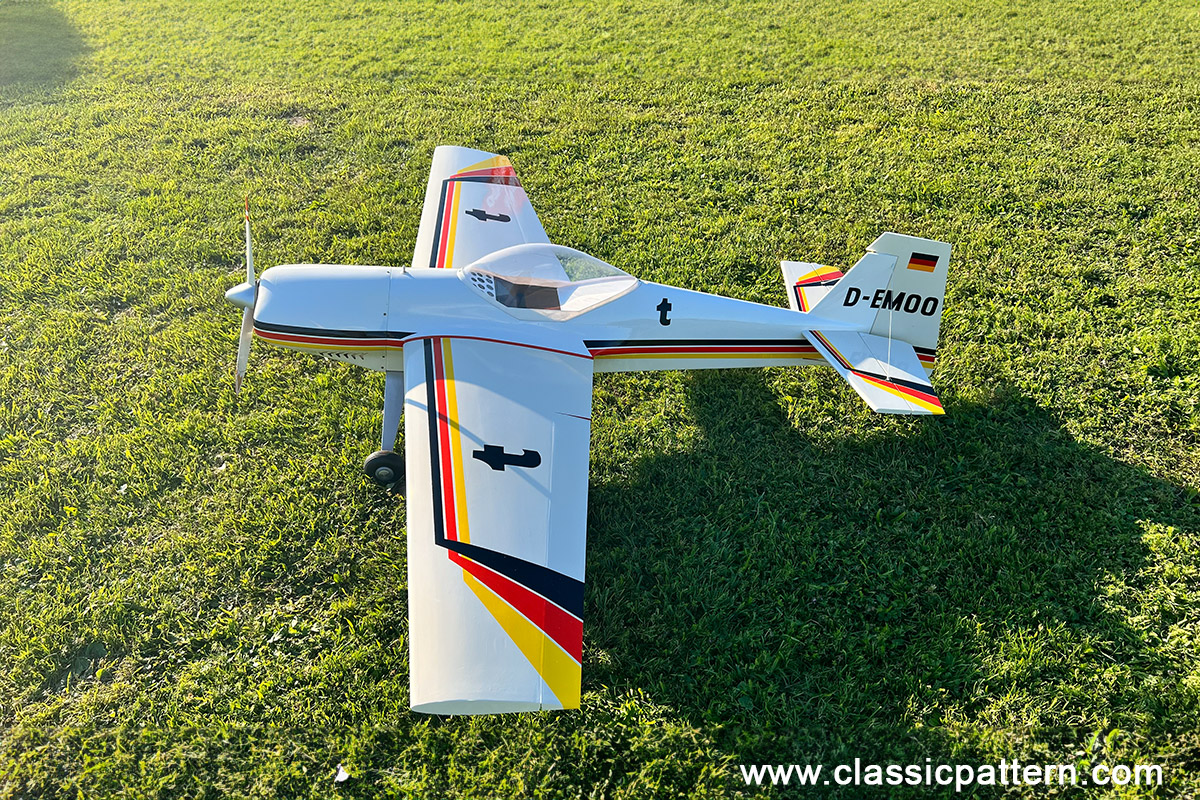
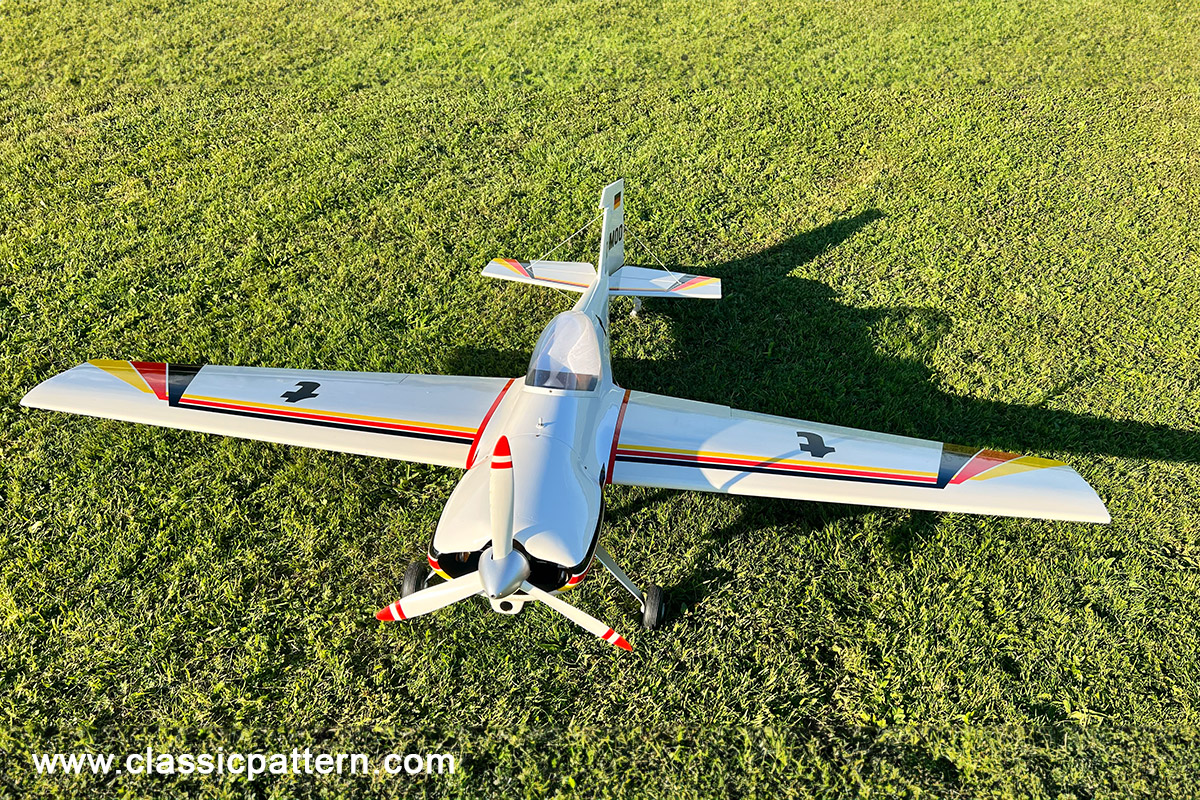
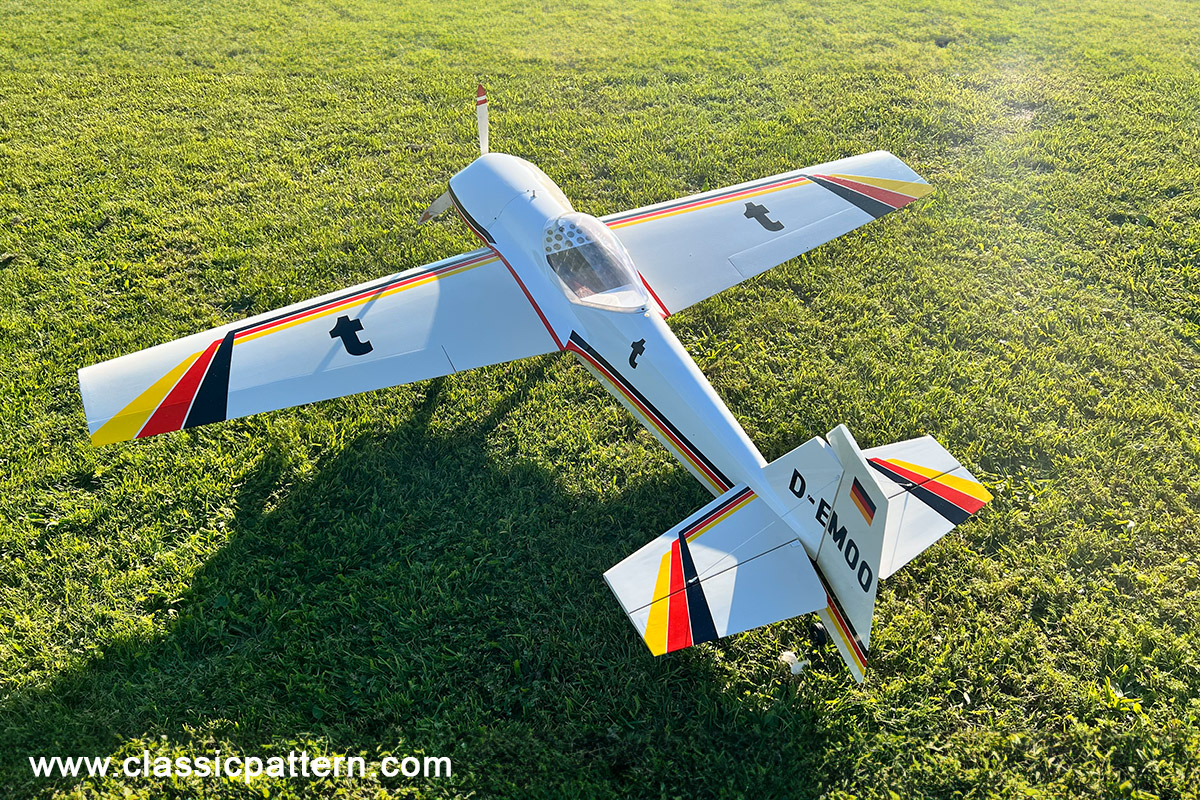
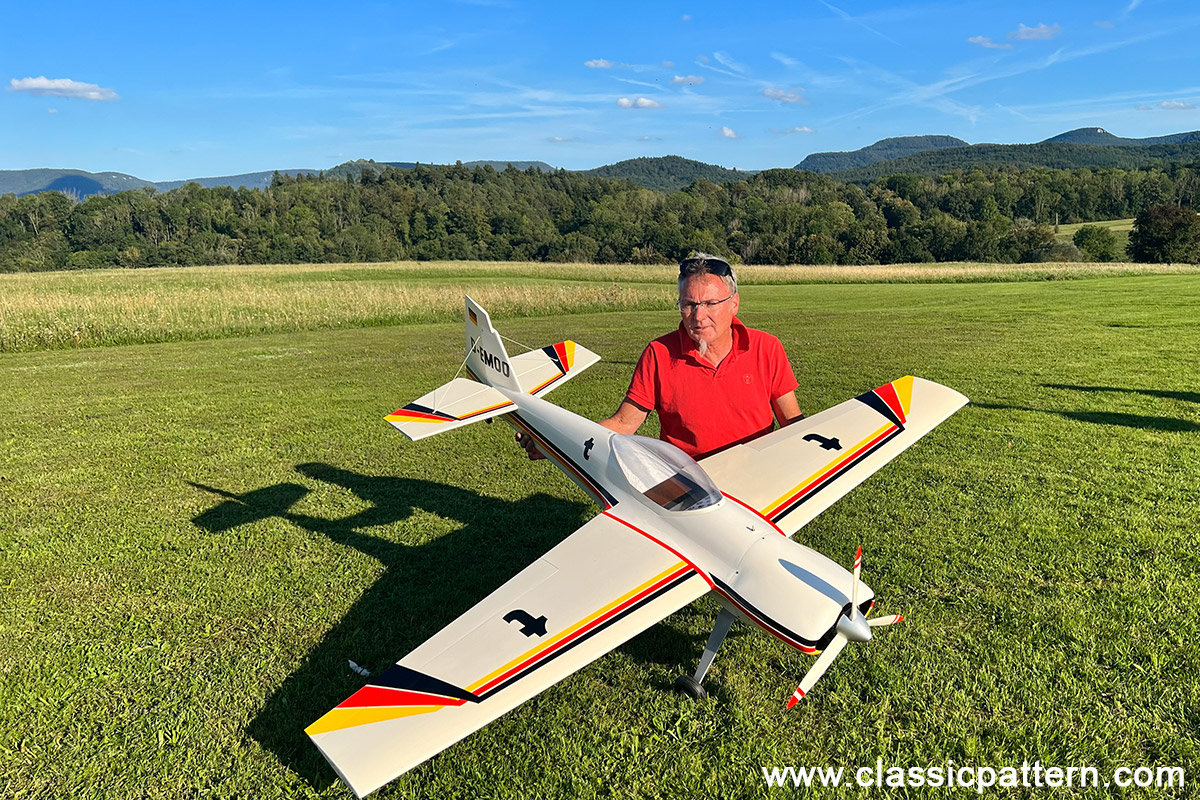
My old flying club buddy Martin Schempp brought his wonderfully built WiK – Diabolo to the vintage meeting in Reutlingen last year. The airplane was a feast for the eyes. We don’t want to withhold photos of this beautiful model airplane from you.
Wilfried Klinger, owner of WiK Modellbau company, originally constructed his Diabolo in wood.
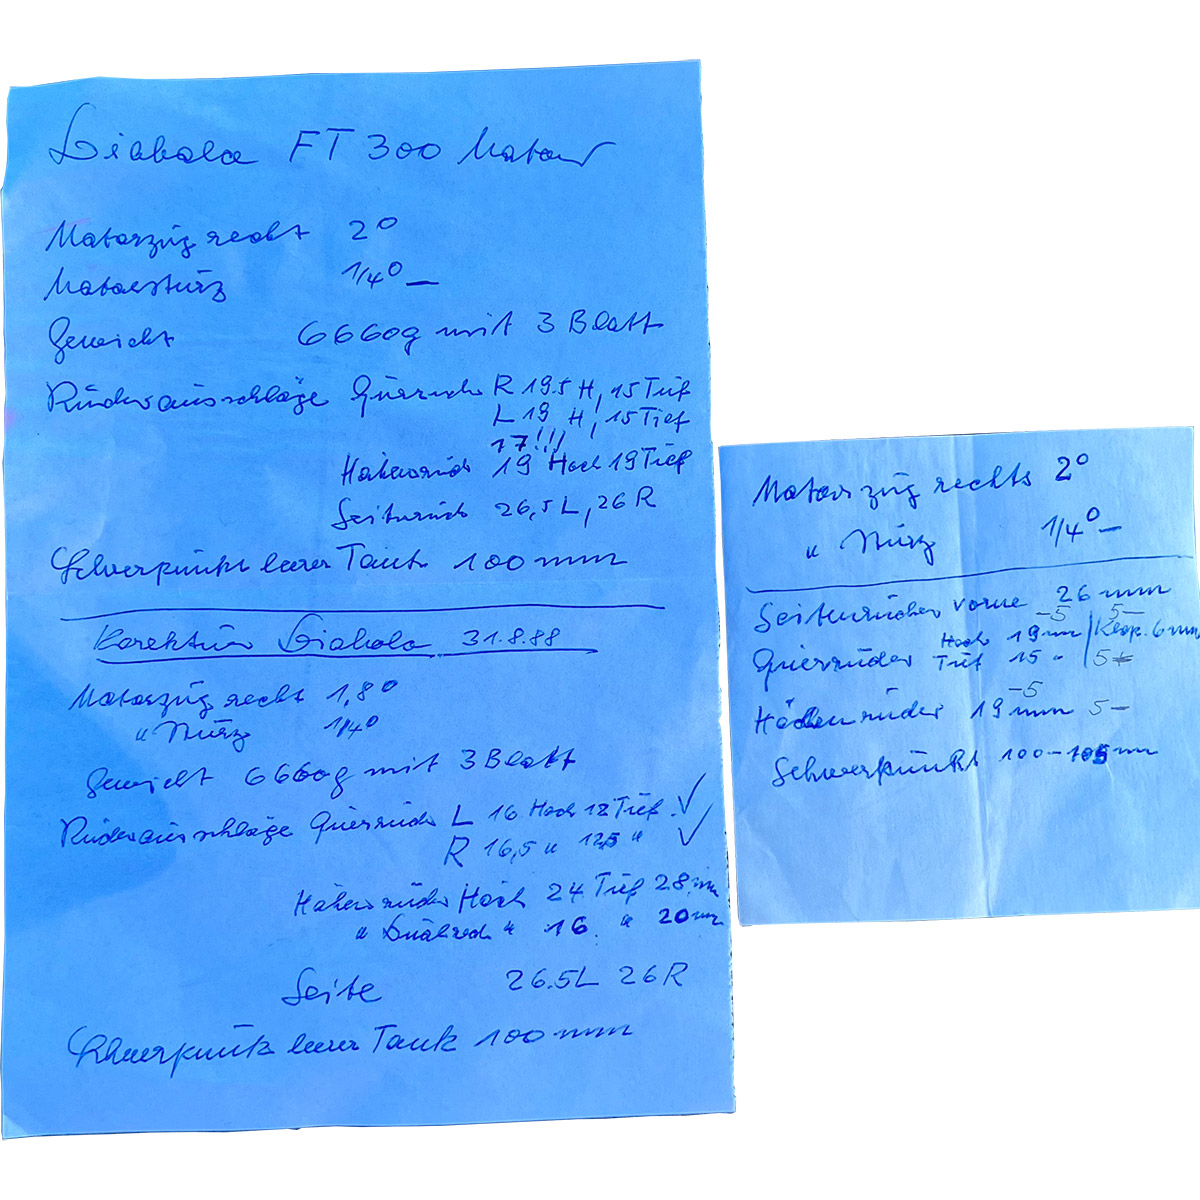
Martin’s Diabolo is Wilfried Klinger’s prototype and is a further development of the wooden model he already had on the market. He fitted the Diabolo with a fiberglass fuselage and a round plug-in tube. In one of the photos you can see Wilfried Klinger’s handwritten record of the test flight results. Engine: OS FT300 four-stroke.
Here is the test report of the wooden kit:
Udo Stamer, now very active in the Piper IG, was an enthusiastic F3-AX pilot at the time and flew this aircraft in several F3-AX competitions. He wrote a test report about this wooden version which was published in FMT October 1985.
General information As a constant visitor to the national large aerobatic competitions and an avid follower of the worldwide acrobatic events, I have observed a change in the aircraft used at the competition. For a few years now you see less and less “Pitts Special” on the first places. This is because the judges consider the Pitts to be lively and difficult to judge. In order to eliminate these negative criteria, some pilots began to think about what an optimal aerobatic airplane should look like. At that time there was already the American “Stephen AKro”, a mid-wing monoplane. This Stephen Akro was used by several designers as a design basis. Gradually, various further developments were seen at the world’s largest aerobatic competitions.
The best known are the Laser 200 by Leo Loudenslager, the Diabolo 330 by Wolfgang Dallach, the Extra Acrobatic EA 230 by Walter Extra and the Super Star by Henry Haigh. Wolfgang Dallach showed the world’s elite what his Diabolo was capable of for the first time at the European Championships in 1981.
You are currently viewing a placeholder content from Default. To access the actual content, click the button below. Please note that doing so will share data with third-party providers.
Construction The fuselage consists of a simple square balsa box. The back of the fuselage is also made of balsa. The molded wing transitions are made of fiberglass prefabricated parts which are simply glued to the balsa box. The result is a light, stable and true-to-original fuselage in a short time.
The engine cowling is also made from fiberglass parts. The two wing halves are made of balsa planked hard foam, each attached to the fuselage with two steel tabs and secured by a well thought-out screw connection.
The tail unit is also made of balsa-foam. The elevator flaps are linked separately via Bowden cables. The stable undercarriage is made of GRP with a resin-bonded steel axle and screwed to the fuselage with nylon screws. The tail landing gear (a simple construction, therefore very light) can be steered with the rudder. The canopy can be removed to make the remote control accessible from above. Alternatively, the fuselage can also be made accessible from below, e.g. to accommodate a larger resonance tube.
All wooden parts are neatly prefabricated and are made of well-chosen, lightweight wood. The enclosed building plan in 1:1 scale is sufficient and contains all the necessary information. I must praise the person who wrote the building instructions. I have rarely had such a good and detailed building description in my hands.
Completion I will be brief about this, because hardly any beginners will bother with this kit. The individual parts in the kit are numbered in the order of the most favorable construction sequence. If you stick to this, you will have a “common thread” for quick success. Contrary to the numbering in the building plan, it is recommended to assemble the wing first. When building the fuselage, already finished wings are a great help. The two wing halves are quickly completed. The leading edge is glued to the already planked wings. This is followed by the trailing edge rib and the edge bow. Then cut out the aileron. The hinge strip is machined so that the gap for the downward deflection is created. The aileron servo is then installed.
Finally, the root ribs, the locking pins and the wing attachments are fitted. Building the fuselage is quick and easy. The fuselage is straight and distortion-free if you pay close attention to a few points in the instructions. This applies in particular to the wing mountings, the tail unit installation and the cabin cut-out. Fitting the wings to the fuselage is the most important work. You should take plenty of time for this and read this part of the instructions several times. Building and fitting the tailplane is also straightforward. (However, there was one weak point in the construction that we later had to learn the hard way, as it cost one of my flying friends his model. When the plane was intercepted during a turn, one half of the tailplane came loose: a breakage could no longer be prevented.
After the model was repaired, we braced the tailplane to the fuselage. This bracing, which the original also has, is therefore highly recommended. The vibrations, especially with large-volume engines, can lead to cracks forming at the base of the tailplane, and the strong forces acting on the tailplane during aerobatics due to rudder deflections do the rest. Small hairline cracks that occurred on the lower fuselage-wing transition, on the other hand, were insignificant and quickly repaired with superglue).
After installing the RC system, it is best to give the Diabolo a finish with acrylic paint. The last important step is to balance the model around all axes and determine the center of gravity. Incidentally, the Diabolo is a pure aerobatic model and is less suitable for semi-scale use, as the fuselage is slightly longer than the original. Flying Our first Diabolo was fitted with a Webra Bully-M with silencer.
In this version, the machine weighed 6,200 g ready to fly and had sufficient steam for all figures with a relatively low wing loading. A vertical 4-time roll from the horizontal was clean and could be flown without time pressure. All snap figures were a delicacy, whether positive or negative. There was no delay after the snap. The tight radii could be taken at high speed. This is a consequence of the good choice of profile. The slow roll and all rolls in time must be controlled very sensitively with elevator and rudder.
However, this is no problem for the experienced pilot. In general, one can say that this mid-wing construction flies very neutrally around all axes. After the first breakage, a Quadra engine with a simple silencer was fitted. For the beginner in aerobatics and for the Sunday acrobat this motorization is still sufficient. The RC-1-X B program was still mastered well. The Diabolo has remarkably good-natured flight characteristics for an aerobatic model, so that I can only recommend this 2-meter machine to budding giant scale pilots.
Specifications
Wingspan: 2,09 Meter
Lenght: 1,65 Meter
Weight: 5,8 – 6,5 kg
Engine: 30-40cc
Text: Udo Stamer – FMT 10/1985
Images: Johanna Huang


