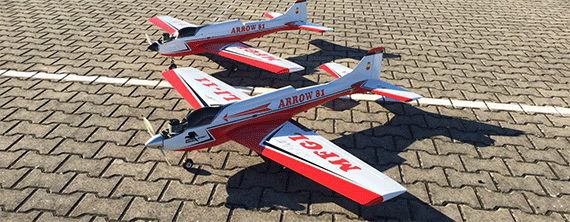
The World Championship airplane and Super Tigre’s X-60 R/C combine with Ace’s new Silver Seven to create all the “pattern potential” anyone could want.
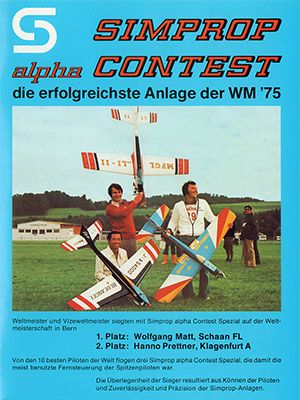
Not so long ago, in a country far away known as South Africa, Wolfgang Matt brought an old term back to world prominence in a new form. His “Arrow,” a new world class pattern airplane, helped Wolfgang win the World Championships in 1979.
Actually, the “Arrow” is not all that new, having placed second to Hanno Prettner’s famed “Curare” at the 1977 Tournament of Champions. The modeling world went “Curare” happy and this tended to obscure the obvious potential that Matt’s airplane had. This was all changed with the M.A.N. presentation of “Arrow” in the June 1980 issue and a kit-ting of the bird, the subject of this Field & Bench.
For those who are curious about the actual ship Matt flew in South Africa, his entry was equipped with a piped Webra Speed, retracts, flaps, spoilers and a variable-pitch propeller. Because there was not sufficient time to work with the variable-pitch prop, it was used very little in the competition but has since proven its worth to the World Champ. Basically the Arrow is a direct descendent of Matt’s popular Atlas with clean-up efforts directed toward hiding the pipe and other minor changes.
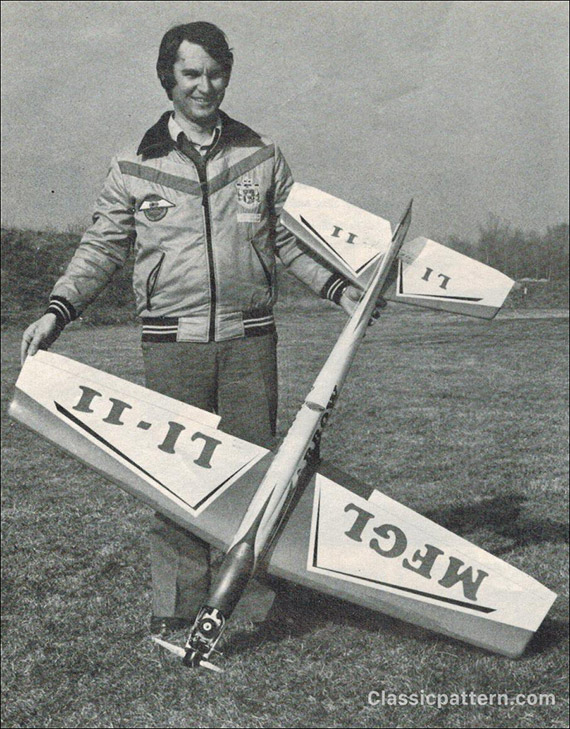
This review looks at a version of the Arrow manufactured by MK Models of Japan; a version endorsed by Wolfgang Matt. Indy R/C is the distributor of MK kits in the U.S. and Bev Goad of that company was kind enough to allow me a kit to work with. Bev also sent along some MK retracts and an OS Cougar retract servo.
THE AIRCRAFT. The kit can best be described in one word—INCREDIBLE! MK really went “first cabin” with this one. Die-cutting, what little there is, is sharp and clean. Ninety percent of the kit is machine cut with an accuracy that is nothing short of fantastic. A complete hardware package is included which contains the tank, spinner and some well-thought-out aileron hardware, along with the usual collection of nuts, bolts and other goodies. Let’s get to building.
The most discouraging thing with kits made abroad is that the instructions are in almost every language but English. This kit was no exception, but the parts are numbered and identified in English and there are small exploded views of the various subassemblies to help out. Actually, the plans are so well done that any-one with any past building experience will have no trouble and most who build Arrow will have the background to handle construction.
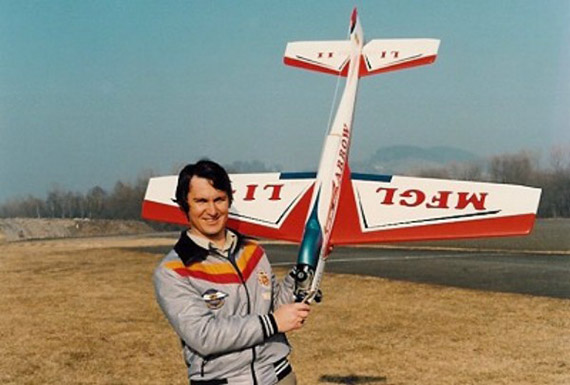
The fuselage is basically a box with a lot of block balsa to shape the basic structure out and give those unusual Arrow lines. After the sides are pieced together, the separately assembled nose section is fitted to the fuselage. Unless you do some pretty serious surgery, you will be using the built-in wooden motor mounts. I recommend you do; they are solid and many experienced fliers prefer the vibration absorption a wooden mount gives over the more common radially mounted metal mount. The engine compartment has the recommended right thrust and down thrust built in, giving you one less thing to worry about. After the engine compartment is attached, the tail is pulled together and everything else just falls together after that. By using a ruler, you can accurately place anything required on the plane (drilled holes for wing bolt anchors, for ex-ample) by simply transferring a measurement from plans to actual work.
The stabilizer and fin are built-up sections and are simple and a lot of fun. It takes no more than a 1/2 hour to do the stab with the help of some Super Jet or Hot Stuff. The fin takes about five minutes. You should sand the fin so that it tapers from a thick base to a thin top. The rudder is also tapered, but don’t taper it below the stab centerline. Both stab and fin are tapered from the leading edge of the item to the trailing edge a la airfoil style. 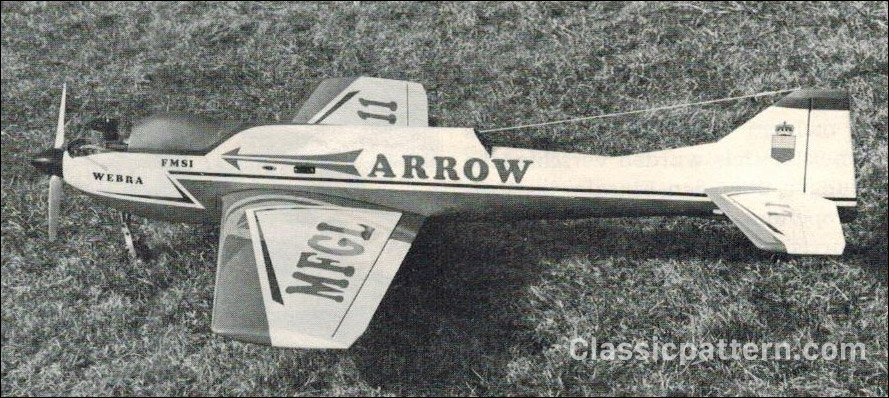
The wing is probably the hardest item to construct; but only because it’s so big. As does the fuselage, the wing goes together quite rapidly. Make sure you identify the various pieces, because each and every part will fit exactly in its proper position only—if it doesn’t fit, you have the wrong piece! After assembling the ribs on the main spars, and the glue is dry, you must decide what kind of retracts you wish to use. The kit has blocks custom-made for MK type “S” retracts and I highly recommend them. They are very sturdily made and they operate smoothly with positive locking. The MK units are those that I in-stalled in this project. The linkage to the retracts is not all that critical; relatively easy to set up. If you do choose to use another type of retract be careful, as there is limited room in the fuselage nose. After the leading edge and trailing edge pieces are installed, the entire wing is sheeted with balsa supplied for that purpose. Be sure you follow the grain direction shown on the plans to gain maximum strength. Most of the wing’s strength depends on its stressed construction. Add the wing tip blocks and cut away any excess balsa throughout.
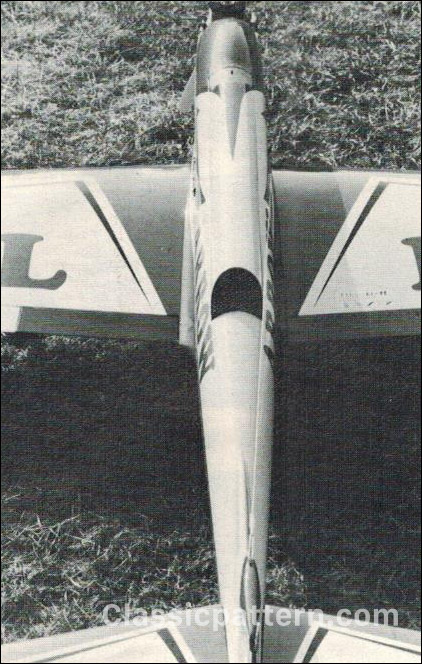
The aileron/flap torque rod is an integrated unit (as its name implies). It is very simple in design and is merely a tube with the aileron rod running through it. The flaps are glued directly to the tube, and the tube rotates freely and separately from the ailerons. I interconnected the two flap tubes to operate them from a single servo.
The kit also includes all the wood and hardware for the optional spoilers; however, I did not install them on this model. Finish the wing by installing the bottom belly pan and lining the wheel wells with the super flexible balsa supplied in the kit.
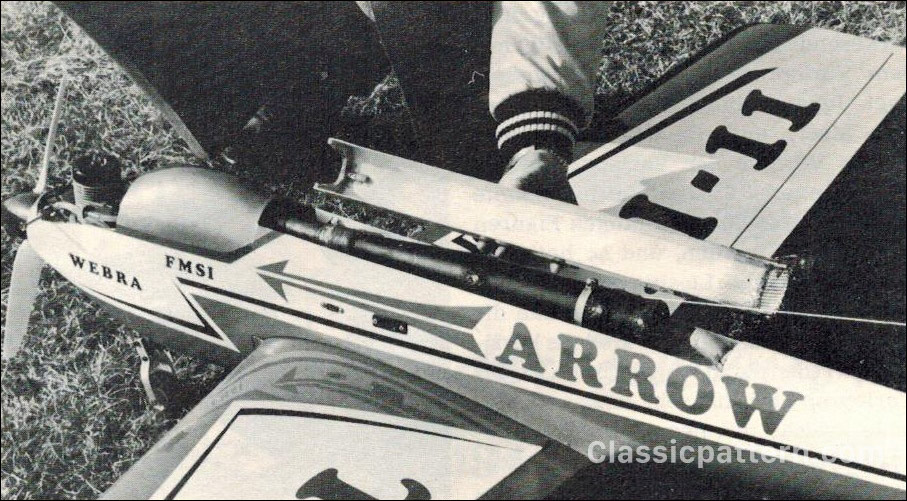
I saved the neatest goodie for last because I know you’ll be just as pleasantly surprised about this as I was. Most people would have you believe that the pipe tunnel on the fuselage top is balsa or scrap metal. Not so. The tunnel is made of rolled steel with the nicest chrome (that’s right—chrome) finish I’ve ever seen. It’s an absolute sin to paint the thing; I sinned, since, in my usual “clutzy” style, I stored the tunnel in a drawer with 60-grit sandpaper and scratched it up beyond belief. The tunnel must be cut down to fit as closely as possible the particular engine/pipe combination you plan to use.
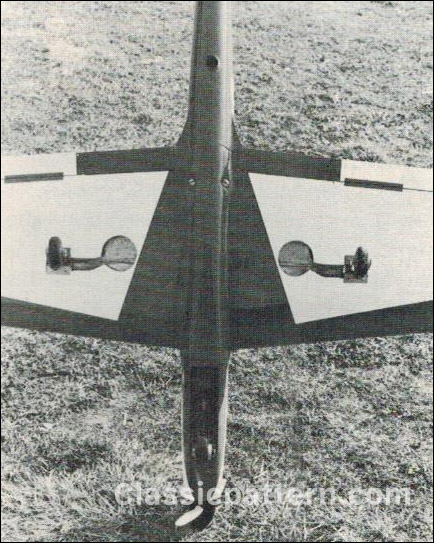
Speaking of pipes, the power plant we used in the Arrow is a Super Tigre X-60 with rear exhaust and mated to a stock ST pipe. I`ll get into the engine a bit more in a minute, but for now, the pipe. You must choose your engine well ahead of time because the pipe installation depends greatly on the engine used. If you are thinking of a side-exhaust engine on this project, forget it. Although the plans show a side-exhaust engine, you’ll have an impossible task trying to find an adapter as shown. It’s rear-exhaust or “nuthin”!
The Tigre exhaust port actually sits about 3/8″ below the tunnel floor and thus requires some minor surgery. I cut the floor away with my trusty Dremel sanding drum, and webbed in the cavity with glass cloth and resin in the pipe’s general shape where it intersects the floor. There is about 5/8″ leeway between the floor and the fuel tank’s top, so you should encounter no problems with most rear-exhaust motors.
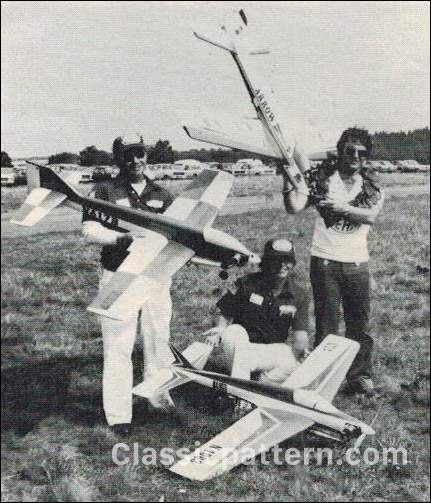
The fuselage was first sanded down to contour and then two coats of polyester resin were applied. This in turn was sanded smooth and followed by Krylon primer. After light sanding and filling of some minor ruts and canyons, the final coats of K&B Superpoxy paint were sprayed. The wing was finished with Super MonoKote after a generous amount of Balsarite was applied. Lettering was done with some of the supplied decals and Coverite Graphics. Striping is standard plastic colored tape cut to size.
THE ENGINE. The Super Tigre X-60 is an impressive-looking engine. It has a massive case to house its ABC/ringed piston and liner, with a head finished in blue anodizing to set it off. X-60 is Super Tigre’s latest in its long line of 60-size engines. As with the rest of the “X” series, Schnuerle porting mixes with high-speed ABC design for very high power output. The engine handles easily with fine idling through its Mag series carb. This is a very easy to use and dependable carb, and its two-needle design makes setting both high and low ends of the power range a snap.
Text:
Images: Wolfgang Matt Modell Mai / 1980











Hello we are bilding 7 arrow.s whit frends
Al gfk