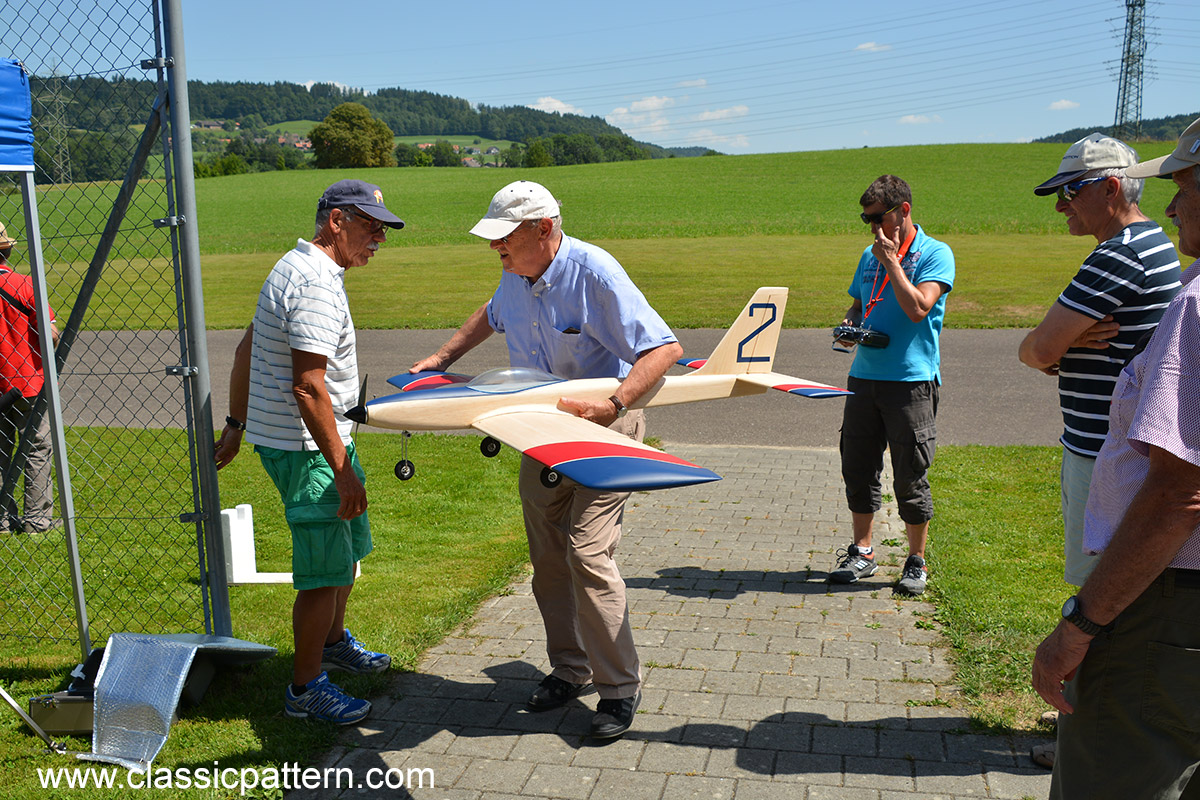
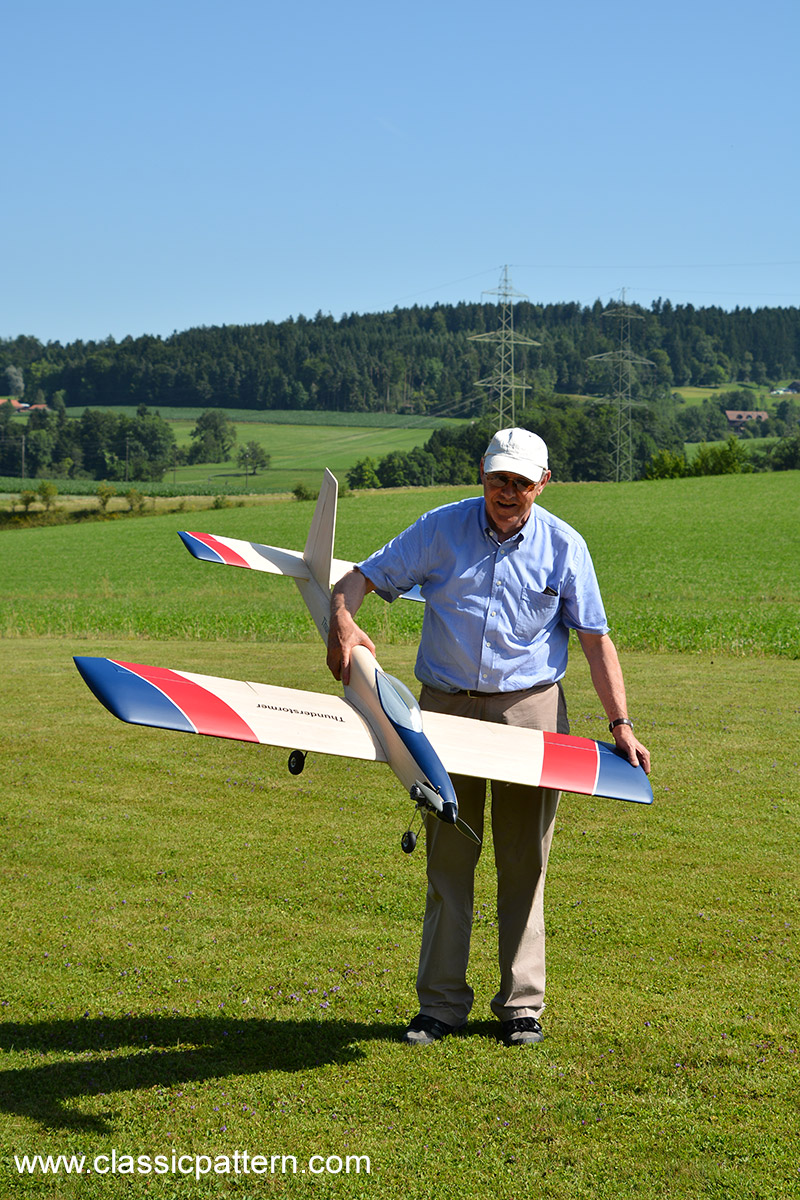
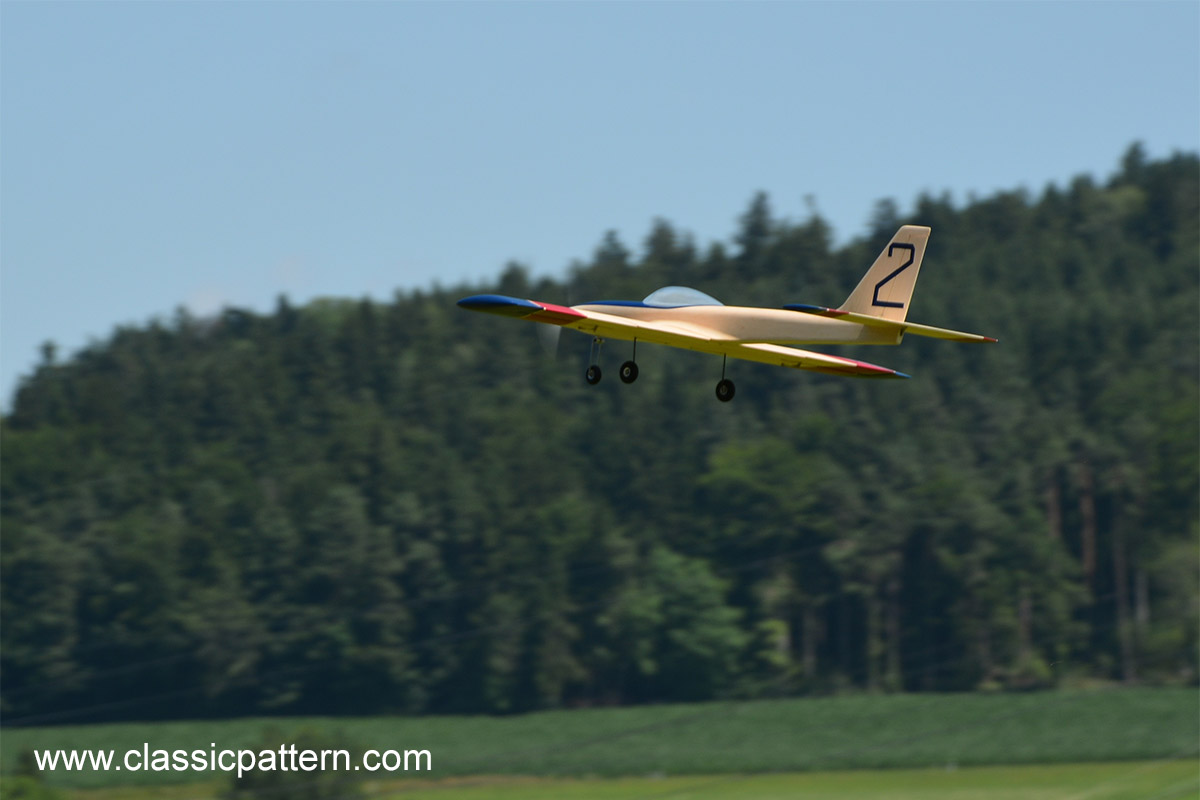
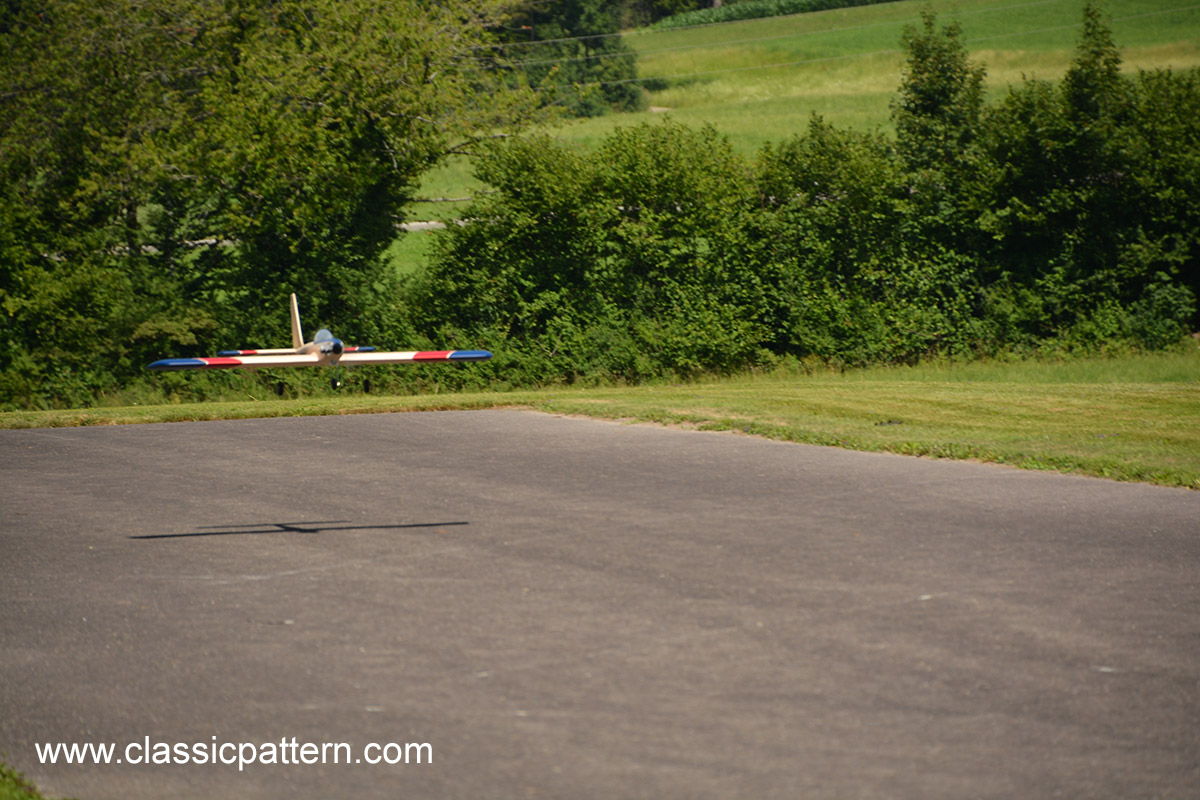
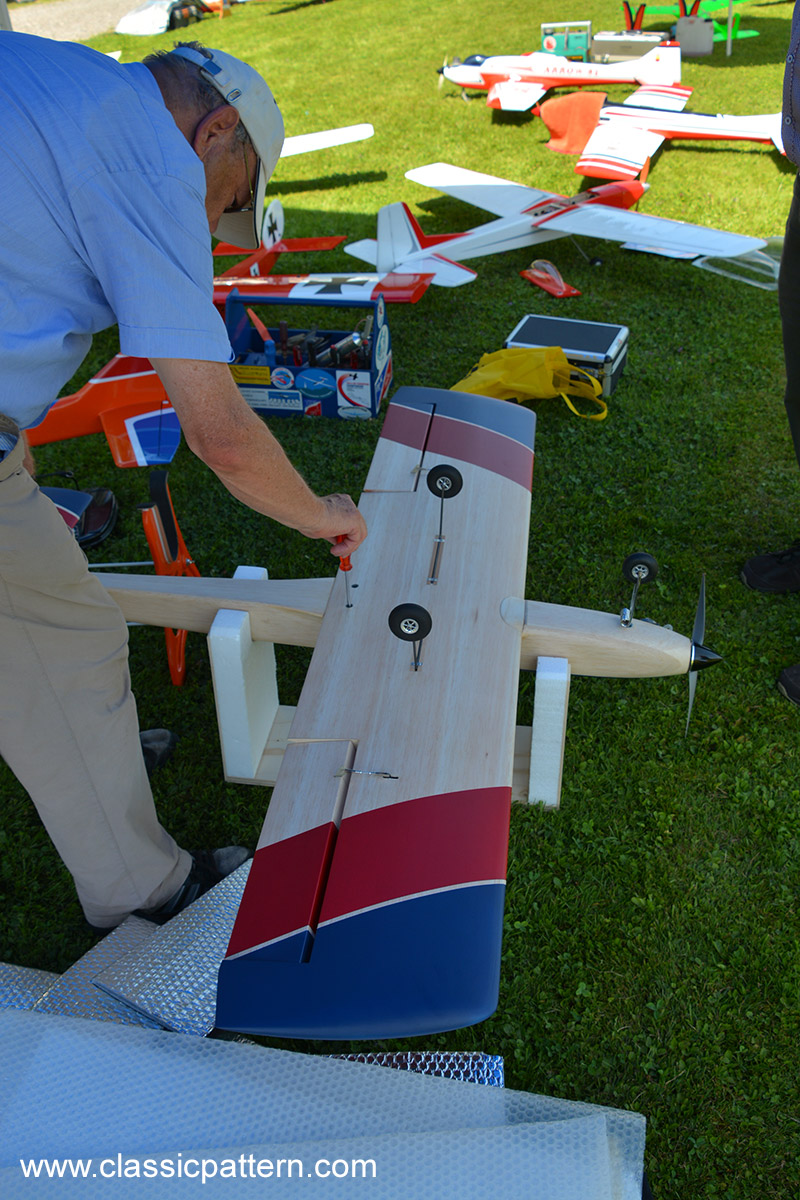
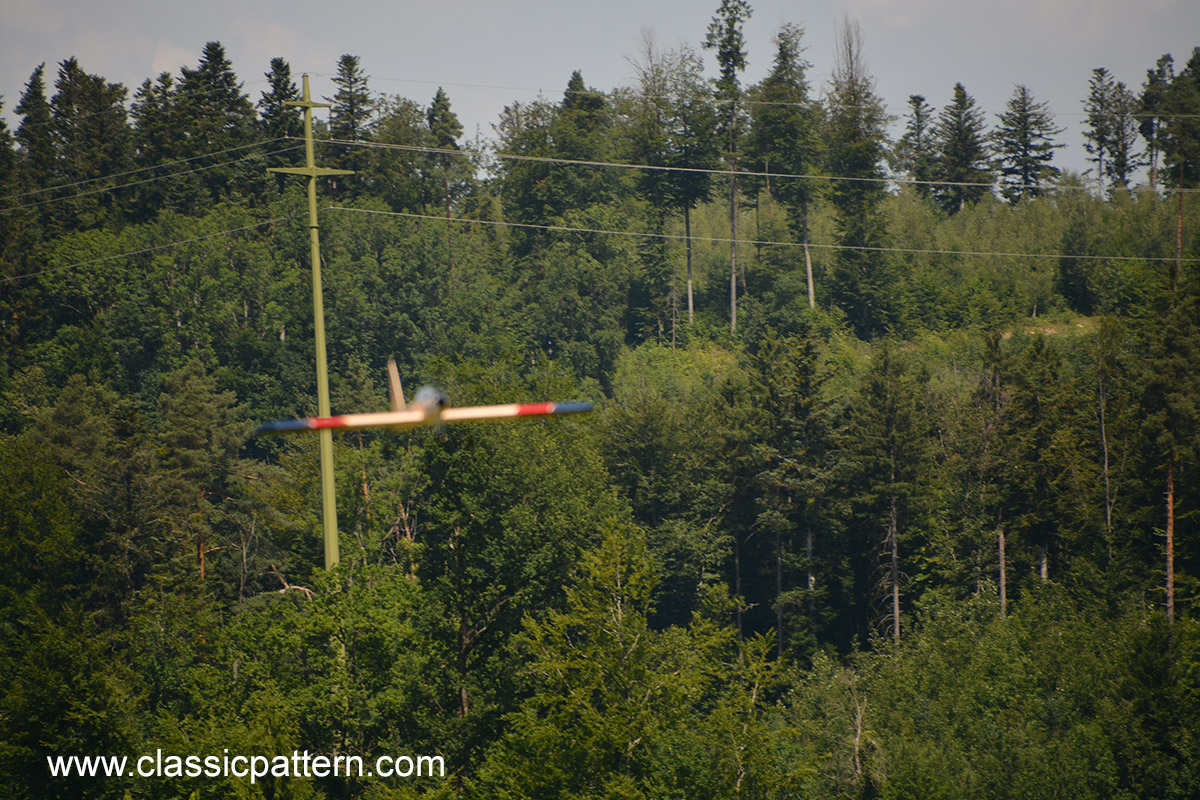
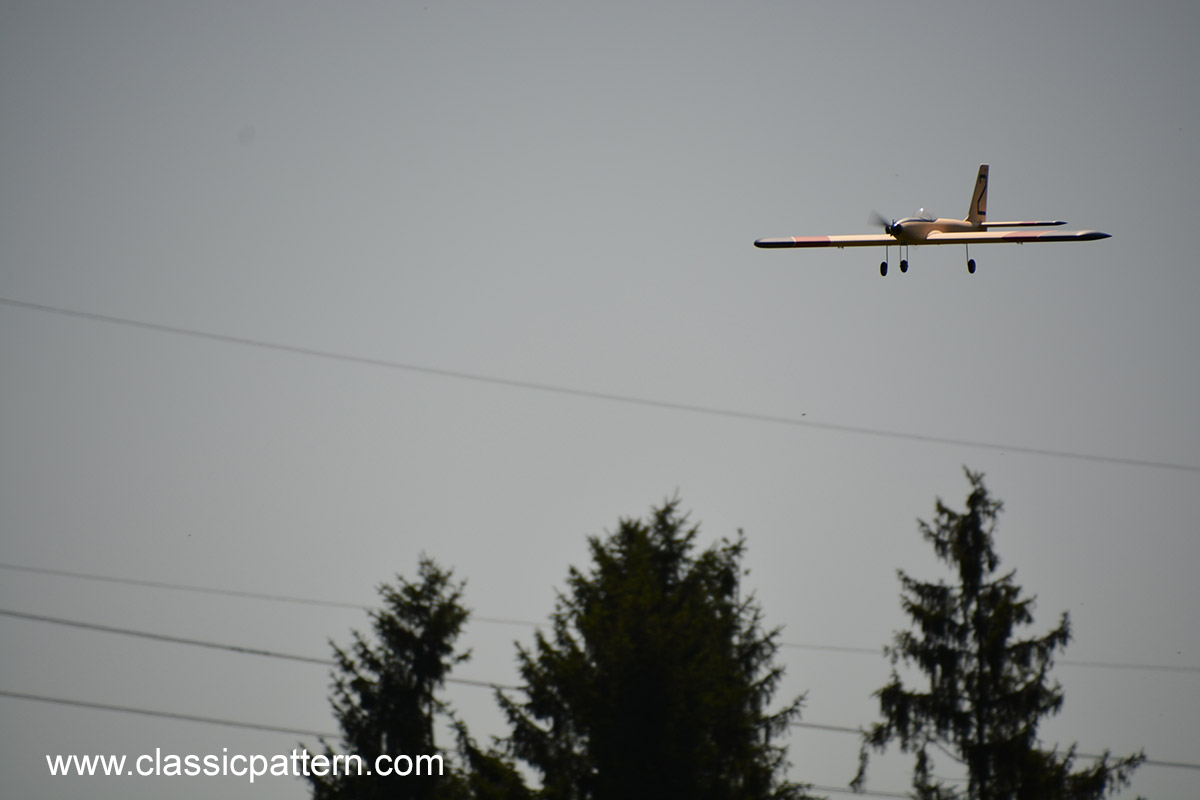
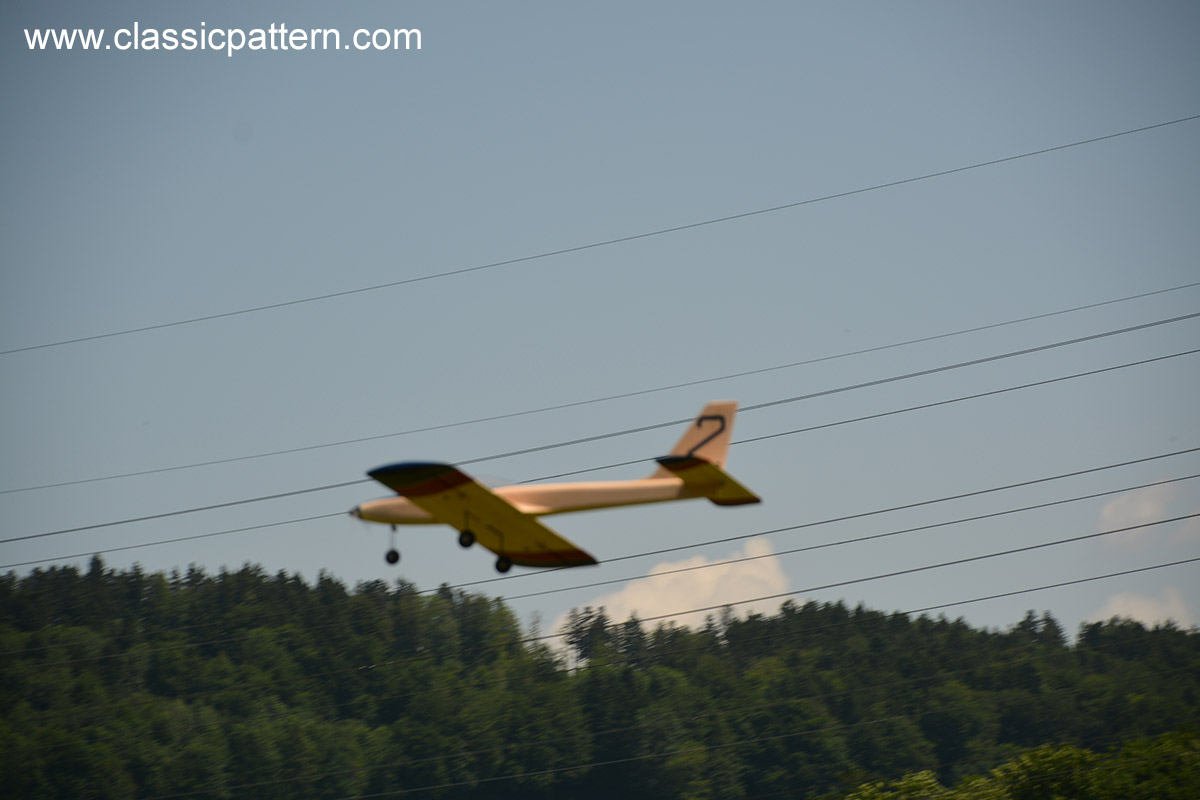
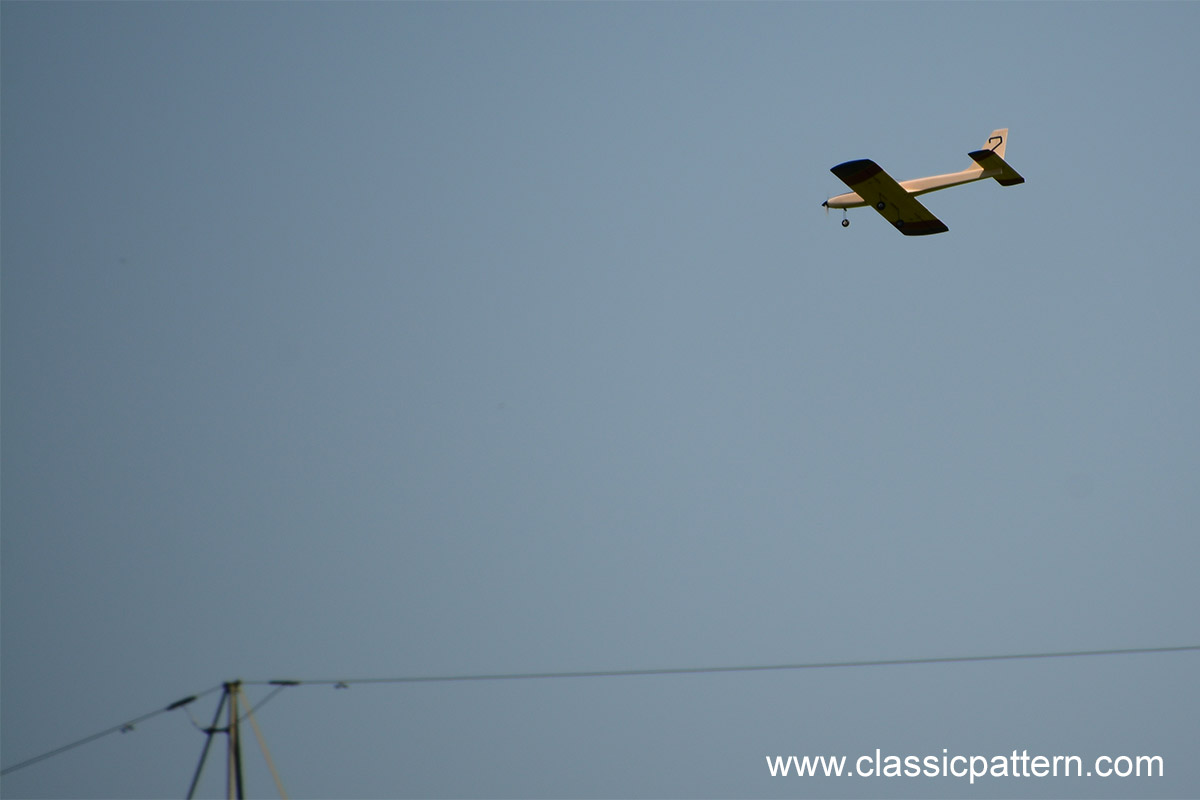
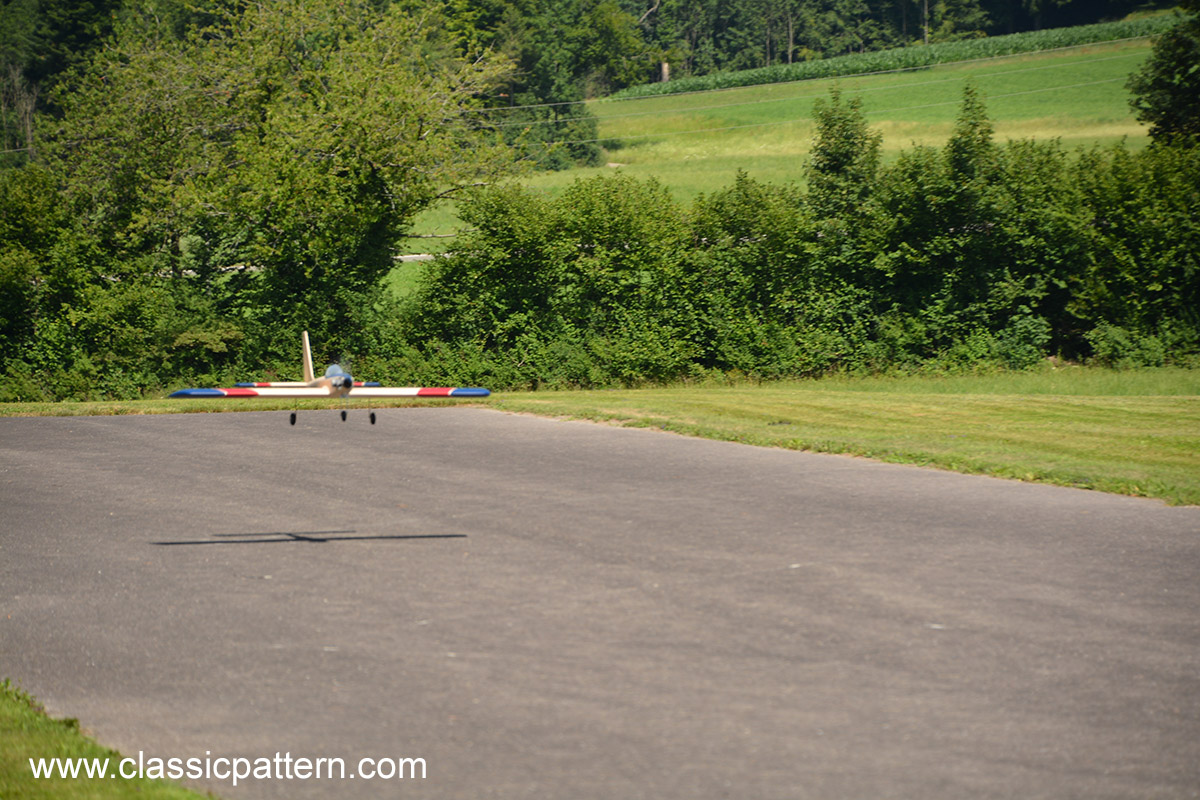
As every year, our Swiss friend Guido Patrocini presents his new classic car. The year is 2017 and everyone was excited to see what Guido would bring to Retroday this year. Everyone was surprised: THUNDERSTORMER by the American Doug Spreng was this year’s turn.
The aeroplane is fabulously built. Our friend from Augsburg, Burkhard Erdlenbruch, was also there with his fantastic camera and took some fabulous photos that I don’t want to withhold from you.
Original article from the RCM magazine 1966 by D0oug Spreng: THUNDERSTORMER is the word for flying machines.
The whole thing started out as sort of a joke. Don Mathes and I decided to see how small a fuselage we could wrap around the Micro-Avionics receiver and servos. Would you believe his is skinnier? But then, so is he, so I guess it’s okay.
This is another one of those “scientifically designed airplanes.” You know— “Wonder what would happen if I made the fuselage ten feet long?” Or: “Think take the dihedral out of the wing . . . be durned if I know how it will fly that way but it sure will make it easy to build!”
Actually, the initial design effort goes back almost a year to just prior to last year’s Nationals. My usual last minute effort produced the first Thunderstormer. It was an ambitious effort. It was designed around the Rossi engine and featured a “flap” and flying stab. As it turned out, I should have named it “Blunderstormer.” On the second flight the flying stab fluttered and tore the whole tail off, rudder and all! Several nasty words and a closed throttle later it dawned on me that what was left of it was still flying! It had flipped inverted after closing the throttle and was making like a big bird. As long as I didn’t try to turn it too sharp it had a very shallow glide angle, so I gently guided my new “ailerons only” bird toward the nearest tall weeds where it came to roost without a scratch! It was then exactly one week before we were supposed to leave for the Nats. I replaced the empennage with a conventional tad, which Look almost a week. So, the day before we Nat’sed it,” I put a couple of flights on the silly thing just to make sure nothing else would fall off.
And, of course, a hell of a lot of good all this did ’cause during the second official Nat’s flight somebody tilted the runway and my toy flew straight into it! After a good cry and a six months’ vacation from R/C, I somewhat reservedly, but with malice of forethought, decided to spit in the “toy airplane God’s” eye and try “once more with feeling.”
So here we are once again with a model designed around the same basic, down-to-earth, practical, scientific, non-sensical, black magic and witchcraft principles that made the Stormer so unsuccessful. That is, it does have a fuselage, wing, tail (non-flying type), and last but not least, a “Lee” type engine so that I don’t have to throw it off a cliff to fly. (Heights make me dizzy.)
Speaking of weeds, Don Mathes claims that is why he made the Micro transmitter green so if you crash you can throw it into the weeds, then walk away with no one the wiser!
Now, about that long tail moment. You will have to admit it looks racy!The great big stab is so that because the fuselage is so damn long the thing is tail heavy but it’ll still fly. (Ed’s Note: Whaddhesay?) Anyway, I used to build “Civvy Boys” and just couldn’t kick the habit.
The only kind thing I can say about the whole mess is that the thing balances at about 50% of the chord, yet still is not squirrely in maneuvers. Not only that, but it is a hyper-axially rolling little grabber! Of course, the yaw-less rolls might possibly be due to the glaring absence of, pardon the expression, strip ailerons. It is my inebrious opinion that strip aileroonies have set R/C toy aviation back exactly 1.3 eons. C’mmon troops, we’re not that lazy! As you will, or will not, see, 1 have gone to great lengths to make the fabrication of them real keen “barn doors” hyper-simple.
You might get the impression that I’m trying to talk you out of building a Thunderstormer. You’re right! I am! If I have to fly against one of these things in a contest, I’m sunk! How else can I maintain my pseudo-advantage?
Or lack thereof . . . Now let’s tip-toe (would you believe stumble?) through the construction, starting with the modified surfboard.
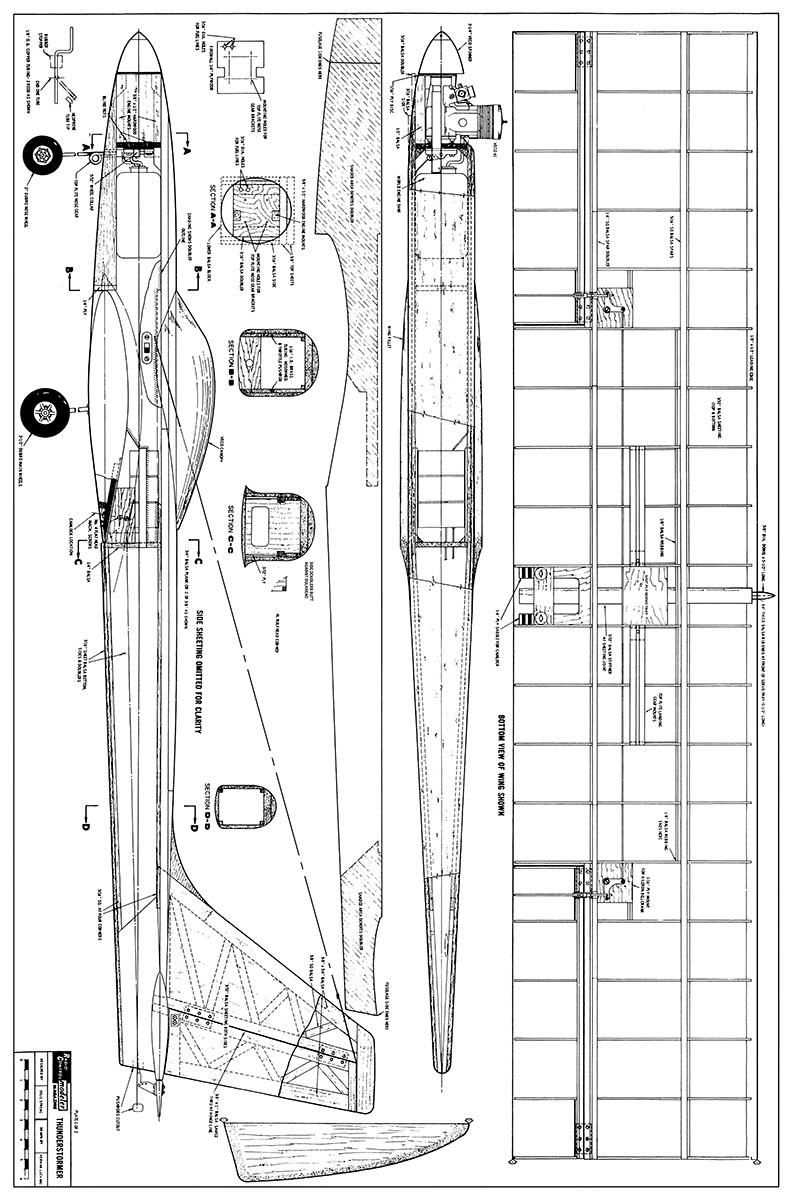
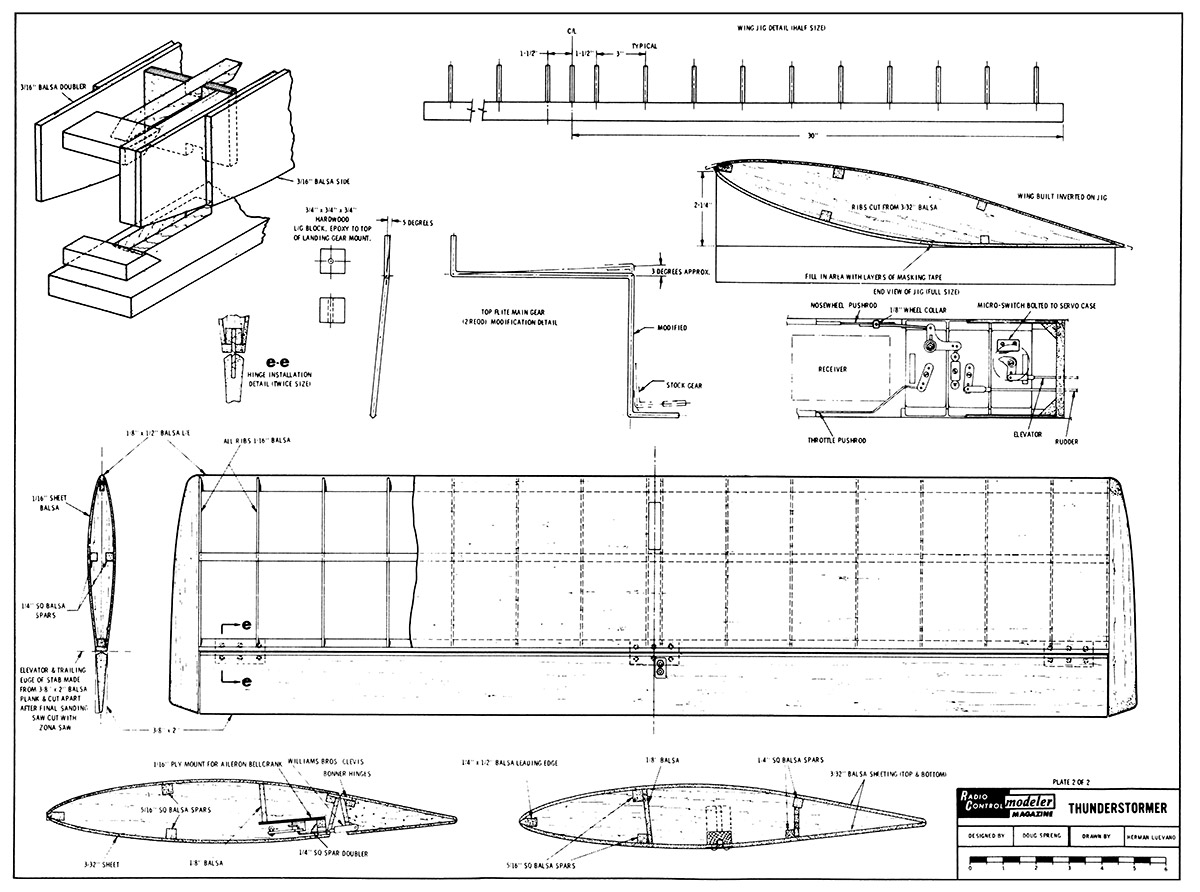
Okay, you hot doggers and hodads, bang ten whilst I elucidate. Referring to the sketch that RCM is gutsy enough to call a plan, you will notice that the wing has all these funny things calledribs and spars. Arrange haphazardly as shown. Glue liberally, using glue. My next well-chosen eminent is, “Sorry about that.” This, of course, in answer to your question about why the photos and plans don’t agree when it comes to the wingtips. Will you go for the fact that I’m inherently lazy (my mother’s side of the family)? Also, being in a hurry, I used the• tips off Thunderstormer #1. Do as I say, and not as I do.
Being as flat as the tires an a ten pound multi makes it possible to build the wing an a nice thick chunk of pine with %” or 1/2″ plywood, sawed, gang sanded, and glued an to support the top sheet under each rib, as per sketch. The %2″ top planking is first edge-glued to a continuous 13″ by 36″ sheet, which is then sanded smooth enough to take dope, or what-have-you. The object is not to sand it after the wing is lifted from the jig. This makes for a top skin that does not sag between ribs. It works. People have accused me of having a foam wing. But, of course, we know better, don’t we?
Now pin the sheet down on the jig. Next, cut out the aileron sheets, pinning them down with a 1/4G” gap between the main sheet and aileron sheet. Now go buy one-and-one-eighth packages of Bonner poly hinges and epoxy to the sheets, per plan. Make sure the epoxy squishes up through the holes in the hinges ’cause that’s what pins them to the wing. Notch the rear spars where they meet the hinges and ‘poxy in place. This also retains the hinges.
It should now be casual to the most obvious observer that when we finally lift the wing out of the jig, the ailerons will be hinged and the linkage will be installed. As a side feature, the linkage is entirely buried in the wing. Nothing will pro- trude to snag your wife’s (or girl friend’s,or both) nylons. The rest of the wingis fairly standard, so I’ll abstain from blithering about it.
It’s tighter than a reed radio manufacturer’s advertising budget! But Look at it this way — if I can get all that garbage in there, you humans shouldn’t have any trouble. The fuselage is de-signed around a bevy of fantastic coincidences. Such as the tank and the spinner both measure 21/4″ in the side view. The tank plus doublers is exactly as wide as a Micro Avionics servo (minus doublers) is long. (Whew!) Although the fuselage is longer than 48″ you may use 48″ wood because the sides don’t need to go all the way to the spinner due to the shaping of the front end. The Veco 61 is exactly 21/4″ wide (thank you, Clarence), and so on and on ad nauseum!
Added advantages to side mounting the engine are that the needle valve centerline is coincident with tank center line, giving Optimum performance, as well as allowing the exhaust to exit downwards, keeping your shiny model relatively free of the usual sticky, bug- catching mess. Also, please note that I have used Top Flite accessories wherever possible in order to save you work, not money. (Dear Top Flite: Payola gladly accepted.) Modify main gear per plan.
In assembly, you obviously must follow a certain sequence or you’re in instant trouble like I was. Start by ‘poxying the doublers to the sides. While that is hardening, cut out the firewall and bolt the Top Flite nose gear brackets on. Notice! There is a %2″ ply shim under the brackets to allow the steering arm to swing amptly. (Wow!=What grammatical nonsense.) Now, it’s top time. So you don’t have to try and find some decent ‘3.4″ x 48″ x 3″ balsa for the top (I never did), I .made mine by laminating x 36″ x 3″ balsa. Obviously, since the top is longer than 36″, it takes three pieces of wood. Cut one 36″ piece into two 18″ pieces, which, when joined tothe end of the 36″ pieces (with the joints staggered), makes your top block. ‘Poxy the mess together and pin to a fiat surface.
White the top is hardening, use an X-Acto gouge to make the grooves in which the nose wheel steering and engine control linkage tubing will be epoxied. Cut out the short motor mounts. Don’t worry, when the frontend is assembled and painted with epoxy, they are more than strong enough. If they aren’t strong enough, sue RCM because I’m not responsible for my actions and RCM is screwy enough to print this tripe! Want to be really petrified? I use sheet metal screws to mount my Veco 61. Clarence Lee had apoplexy when I told him, and he now refuses to come to the field while I’m there because he’s afraid he will get beaned with his own handiwork when those lousy screws give up.
But I’ve got news for you: just drill a #6 tap hole through 3/2 of motor mount stock and tap the hole with a #6 sheet metal screw 314″ long. When your arm muscles recover, it will suddenly dawn on you why I have confidence in that method! Anyway, when I built the front end, I forgot to put in blind nuts and so I’m stuck with the method. Besides, with no useless motor mounts cluttering up the tank compartment that real snazzy blue World Engines square tank (more payola) slips in like the 8-ball in the corner pocket.
Needless to say, you had oughta’ coat the inside of the tank ‘partment with poxie. You will also come to the contusion that the steering arm must be hooked to its linkage before the bottom block is glued on. No need to install the Top Flite nose gear ’til after the bottom block is on, and for that matter, mine didn’t get installed ’til after the model was painted. Just make damn sure you have some nice long Allen wrenches the right size, ’cause when you do install the nose gear, the only way you can tighten it up is through the tank compartment. You’ll wish you had eyeballs in your fingernails, but like I said, all you humans out there in Model Land should fare much better than I.
By the way, I wanted to install the engine via a nice radial mount, but Clarence said nyet. He babbled incoherently about vibration tearing up the
carburetor or something. I didn’t understand it, but when it comes to engines, Clarence Lee is a combination of boss, god, allah, and he looks a little like buddah. (Or is it Jack Henry at Veco that looks like buddah?) Well, whatever he says is the word because he oughta know. Oh, by the way, Clarence says you all oughta’ buy Veco 61’s for your TS’ers (Or maybe that was what Jack Henry said . .)
Anyway (and if there was any way I could get out of this I would), the fuselage is assembled upside down on its top block, ala Kwik Fri. If you’ve gotten this far you’re in better shape than I am, so I`ll not take the challenge out of it by giving away any more trade secrets.
So let us assume you’re a real brave soul and you’ve just completed your bright shiny modified rocket ship and are ready to fly. Now this is where the long moments and large tail areas show the reason why. Assuming your Veco 61 is purring like a kitten and your Micro rig has been checked out and the switches are on, just slam the throttle home and watch the TS’er come out of the shoot like an angry bull! Don’t fret,man, haul it off any time you want. It won’t snap on takeoff, this I guarantee.
Fly it around a while to get it trimmed out, then get the little grabber all lined up with the wing level and flying straight ahead. Then take your hand off the stick. If you’ve done your trimming well, it should fly horizon to horizon without correction. Now pull it up into a giant Immelman turn so it almost stops on top. then slam full aileron on and lock up on the keen axial roll out on top! That’s those barn doors doin’ what ailerons should do. Not a yaw in a bucketful!
The landing characteristics leave nothing to be desired except maybe itshould land itself automatically already — but that would take the icing off the cake. As pr eviously mentioned, the sharp leading edge causes a sooner, gentler stall. In fact, the model just sort of mushes and settles instead of stalling. I am sure the large stab and long moment arm has something to do with it, but 1’11 be durned if I can prove it. Condensing all that trivia down, I’m saying that you don’t have to worry about losing control if you slow way up. The silly thing just doesn’t have any bad traits. In fact, it is so tame that it’s hell to make it spin. In fact, it’s so tame it almost won’t fly (oops!). Well, enough of this bull. This makes eighteen pages of handwritten copy and I have to get my ball point gassed up.

