Chocal-Bauer Modellbau launched a new aerobatic model at the 1979 toy fair.
Full content is available to paid subscribers only.
Support Independent Journalism by subscribing today.
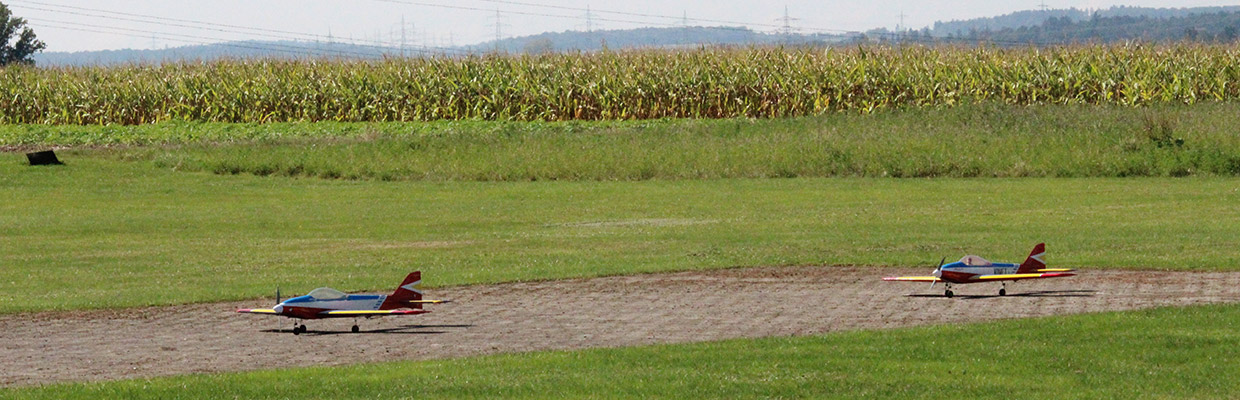
All Information About Vintage Aerobatic Planes


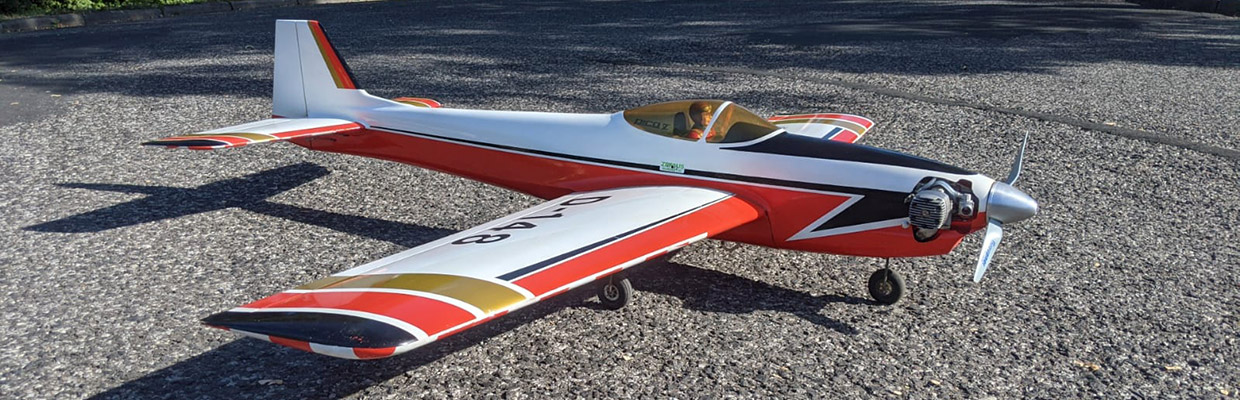
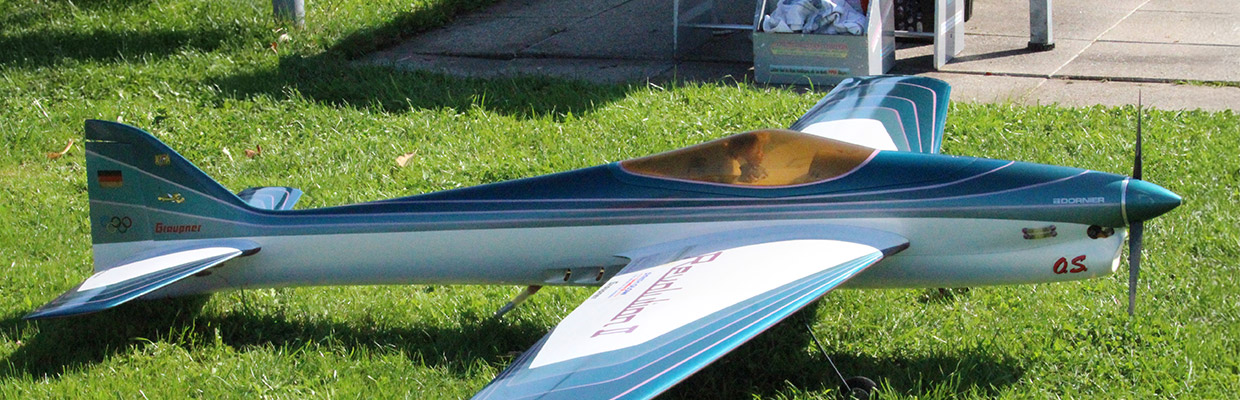

Chocal-Bauer Modellbau launched a new aerobatic model at the 1979 toy fair.
Full content is available to paid subscribers only.
Support Independent Journalism by subscribing today.


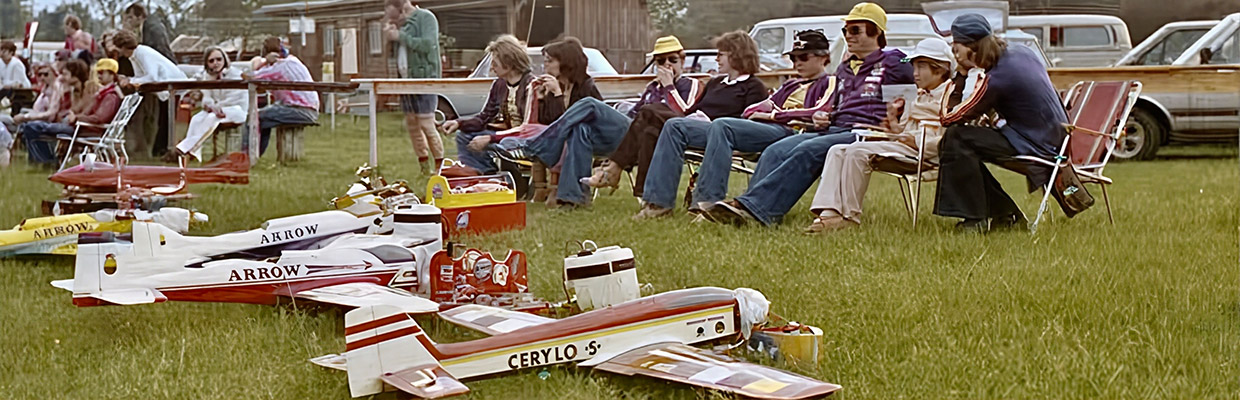
 FAI World Championships Reports
The World Aerobatic Championships have been held since 1960, organized by the FAI, Model Flying Section. Thanks to our consistent, […]
 5, RC1 WC 1967 Corsica
In our series of past RC1 (F3A) World Championships, our aim is to document as accurately as possible all the […]
 6, RC1 WC 1969 Germany
F3A Aerobatic World Championship 1969, Lemwerder / Germany: We have revised the report and the photos. We have ‘spiced up’ […]
 11, 1979 F3A WC South Africa
Many thanks to the South African Len Salter for this terrific report, many thanks also to Phil Stevens and Gerard […]
 8, F3A WC 1973 Italia
We already published the report on this world championship some time ago. In the meantime, we have received many more […]
 15. F3A WC 1987 France
The year is 1987 – what a luck. The Australian participant, Chris White, and the Finn Ahti Yliriesto provided us […]
 1st RC1 World Championship 1960 Switzerland
We have revised and updated the report on the first World Aerobatic Championships in 1960 / Dübendorf. Our photos have […]
 4th RC1 World Championship 1965 Sweden
A piece of contemporary history – a comprehensive documentation of the 1965 World Cup in Sweden with lots of details […]


